I had planned to spend the weekend in the shed but work got in the way as a result I only got away late Sunday afternoon. I figured that a couple of hours was enough time to make up the spacers for the spacers fr my wheel conversion.
This is where I encountered my first problem, I was sure I had some 1" bar somewhere but couldn't find anything. I did have a length of 1.24" round bar, god knows where it came from but figured it would be easy enough to turn down to 1".
It didn't take too long but it seemed to machine differently from other steel I've machined, forming long spirals of swarf and judging from the colour generating quite al ot of heat in the process. I still managed to turn down about 6" down to 1", enough to make the largest spacer. Here it is awaiting the bandsaw.
The next step was to drill it through so the 3/4" spindle could pass through it. I started with a 10mm drill, drilling a pilot from both ends. However due to the length of the work piece it didn't actually meet up in the middle. This may have been a mistake but I decided to go ahead with the next drill up I had, a 21/32" with a morse taper.
The picture below shows the work piece after drilling through from one end. Note the discolouration caused by the heat generated.
This heat along with the fact that the work piece was solid in the middle are what I think led to the following tale of woe.
In the picture below the drill is stuck solid in the work piece at one end and in the tailstock quill in the other. The chain of events that caused this started with drilling the large hole from the second end. I found that the drill seemed to cut best when driven in using the tailstock ram with quite a firm hand.
This produced a lot of heat but appeared to work, until the drill broke through the previously undrilled section in the centre into the hole I had drilled from the other end. At this point the drill jammed.
I tried various things to get the drill out of the workpiece but only managed to make things worse by jamming the tailstock quill onto the drill bit.
An attempt to force the drill out of the quill's taper with simple brute force succeeded only in shearing the pins that hold the quill to the ram nut.
At this point I decided to stop with the brute force (i.e.BFO hammer) and use some more controlled force in the form of a press.
The press got the drill out of the quill which was a relief but I now need to fix the connection between the ram nut and quill before I have a functioning tailstock again.
But I think I've learnt an important lesson about stopping and thinking
before reaching for the hammer, especially because I now reckon that
simply running the lathe in reverse would have released the drill bit
when it first got jammed and avoid the grief my brute force resulted in.


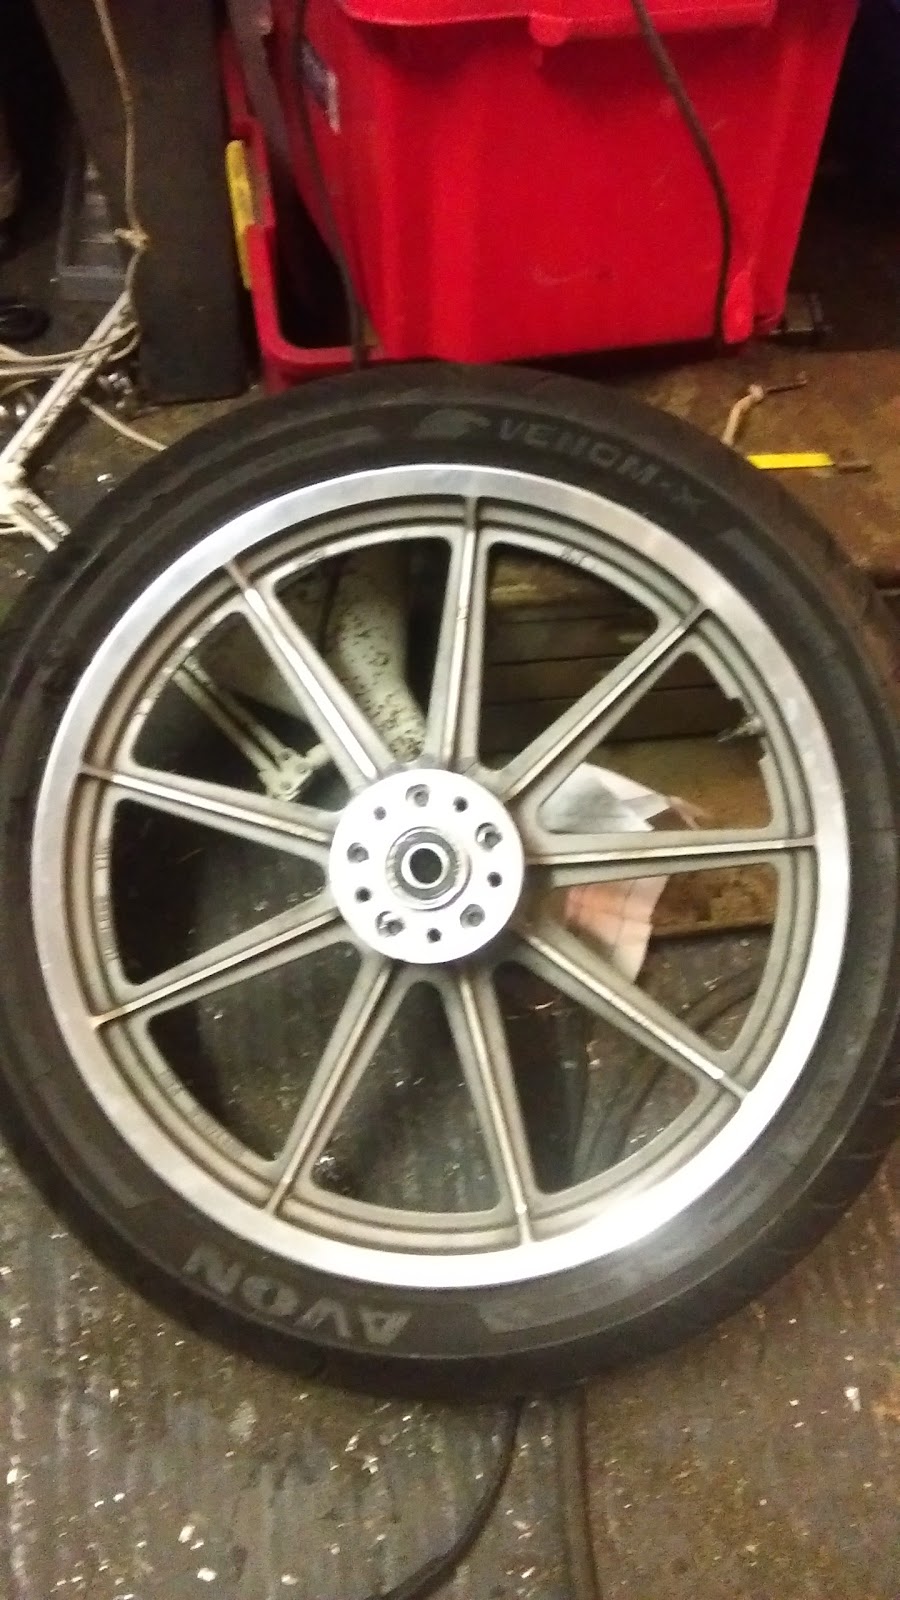 Finished the disc side spacer today, the counter bores for the spacer to wheel bolts weren't 100% successful. I might invest in a proper counterbore set however despite that everything seems to bolt together nicely, here is the spacer bolted to the wheel....
 and here is the disc bolted to spacer. I need to do the other side and then sort out the spacers to fit the wheel.
  At this point I am about to mill the counterbores for the cap head bolts to hold the spacer onto the wheel. Took ages to set up mostly because I'm still getting to know my mill.
  Counter bores completed. I'm not sure I did them all to the same depth, I was getting tired and may have miscounted the depth I'll check today and correct if necessary.


